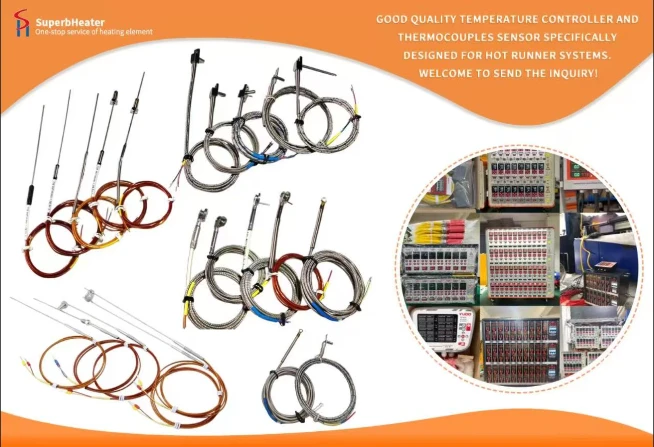
You've just finished a thorough mold maintenance-disassembled everything, cleaned every surface, replaced worn components, reassembled carefully, and put the mold back in production. And within the first shift, a thermocouple fails. Sound familiar? It happens more often than it should, and the reasons are entirely preventable.
The Disassembly-Assembly Cycle
Every time a mold comes apart and goes back together, the thermocouple is subjected to mechanical stress. Cables get pulled, connectors get disconnected and reconnected, and sensors that were perfectly seated before maintenance may not find their way back to the exact same position. It's not that the maintenance team is careless-it's that thermocouples are fragile components that don't always tolerate handling well.
What Actually Gets Damaged
The most common damage during maintenance is to the cable, not the sensor tip. When the mold is disassembled, the thermocouple cable is often left attached to one half of the mold while the other half is moved or turned over. The cable gets stretched, twisted, or pinched between heavy mold plates. By the time the mold is reassembled, the cable has internal damage that may not show up immediately. A kink in the cable that wasn't there before is a warning sign.
The Problem with Cleaning
Mold cleaning procedures are often thermocouple-unfriendly. High-pressure air or steam cleaning can force moisture into cable connectors, degrading insulation resistance. Chemical solvents can attack cable insulation, causing it to crack and fail over time. Sanding or polishing near the thermocouple area can abrade the sheath, creating weak points for corrosion.
Reinstallation Errors
When the mold is reassembled, the thermocouple may not be reinserted to the correct depth. It may be cross-threaded or not tightened enough, creating an air gap that insulates the sensor. The connector may be plugged in with reversed polarity or not fully engaged. These are simple mistakes, but they have outsized consequences.
A Better Maintenance Workflow
Document thermocouple positions and cable routing before disassembly. Photographs work well for this. During disassembly, treat the thermocouple cable with the same care you treat the mold face. Use cable ties to keep cables organized and protected. During cleaning, cover thermocouple areas with protective tape to prevent chemical exposure. During reassembly, use a checklist for thermocouple installation-correct depth, correct torque, correct polarity, connector fully engaged.
Post-Maintenance Verification
Before putting the mold back into production, verify thermocouple function. Use a multimeter to check continuity and insulation resistance. Heat the mold to operating temperature and monitor all zones for stable readings. A few minutes of verification saves hours of troubleshooting later.
Real-World Examples
I worked with a facility that had a 64-cavity mold with chronic thermocouple failures after every maintenance cycle. They were replacing two to three sensors each week. The maintenance team was thoroughly cleaning the mold with an abrasive blast media, which was eroding the thermocouple sheaths. Switching to a gentler cleaning method and protecting the sensors during cleaning reduced failures by 80%.