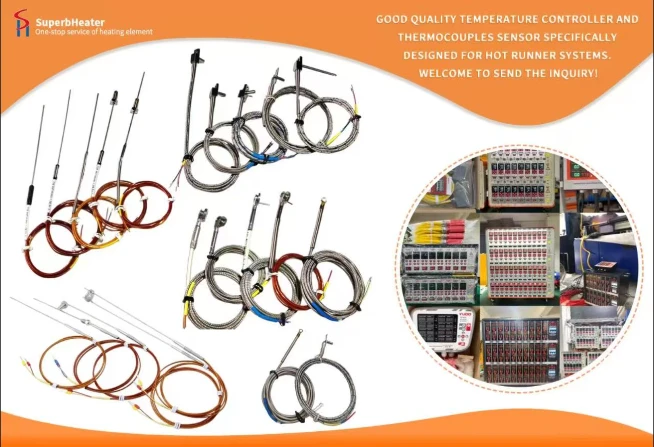
Plastic leakage around the thermocouple bore or connector is a serious problem. Molten plastic can wick into the bore, surround the sensor, and cause erroneous readings or permanent damage. This article addresses prevention and remediation of leakage-related thermocouple issues.
How Leakage Occurs. Leakage happens when the thermocouple bore is not sealed properly. Molten plastic under high pressure (up to 2000 bar) can force its way through microscopic gaps around the probe. This is more likely with low-viscosity resins (e.g., PC, PA) and at high injection pressures. Over time, the plastic degrades and releases corrosive gases, attacking the sensor.
Sealing Solutions. The most effective seal is a compression fitting with a ferrule that compresses against the thermocouple sheath. Use a ferrule made of brass or stainless steel that matches the sheath diameter. Tighten to the specified torque to create a metal-to-metal seal. Some designs use O-rings, but these are limited to temperatures below 250°C.
Bore Design to Prevent Leakage. The bore should be a blind hole-closed at the bottom-so there is no path for plastic to escape. If a through-bore is unavoidable (e.g., for insertion from the bottom), install a backup plug on the opposite side. The bore diameter should be as close to the probe diameter as possible (within 0.05–0.10 mm) to minimize gaps.
Thermal Expansion and Sealing. During heat-up, the manifold expands, which can change the gap between probe and bore. The compression fitting must accommodate this expansion without losing seal. Use spring-loaded fittings that maintain compression over a range of temperatures.
Visual Signs of Leakage. Operators should watch for: plastic residue around the thermocouple connector, discoloration of the sheath, or a sudden temperature reading change (plastic around the sensor insulates it). If any of these signs appear, shut down and inspect.
Emergency Shutdown for Leakage. If you observe plastic leaking from the thermocouple bore, do not wait. Power off the zone, release injection pressure, and allow the mold to cool. Attempting to remove a hot thermocouple with plastic on it can damage the bore.
Cleaning After Leakage. After cooling, carefully remove the thermocouple. Clean the bore with a drill bit or reamer of the correct size to remove hardened plastic. Be careful not to enlarge the bore. Use a solvent compatible with the plastic. Replace the thermocouple (the old one is likely contaminated). Install a new seal and test for leaks.
Material-Specific Precautions. Resins that degrade to corrosive gases (PVC, POM, fluoropolymers) pose double risk. Leakage not only insulates the sensor but also releases HCl or HF, which attacks the sheath. For these materials, use Inconel sheaths and inspect seals frequently (every shift).
Retrofitting Seals. Older molds without compression fittings can be retrofitted with gland seals. Drill the bore larger at the entrance, tap it for a fitting, and install a gland seal around the thermocouple. This is a cost-effective upgrade for problem molds.
Pressure Considerations. Higher injection pressures increase leakage risk. At pressures above 1500 bar, consider using a double seal (two compression fittings in series) or a pressurized seal that is energized by the melt pressure itself. Consult your mold designer.
Case Study: PVC Leakage. A PVC molder had frequent thermocouple failures due to plastic wicking up the bore. HCl from the degraded PVC corroded the sheath within weeks. Installing a compression fitting with an Inconel ferrule and upgrading to Inconel 625 sheath extended thermocouple life from 1 month to over 12 months.
Inspection Protocol. During every mold cleaning cycle, inspect the thermocouple seal area. Check for any plastic residue or scoring on the sheath. Replace the ferrule if it shows wear. This 5-minute inspection prevents catastrophic leakage.
Documentation. If leakage occurs, document the resin, processing temperature, and injection pressure. Look for patterns: if leakage always happens at high pressure, consider reducing the pressure or upgrading the seal. Use this data to refine preventive measures.
Training. Train maintenance staff on the importance of seals. Emphasize that a loose seal causes more problems than a slightly under-tightened seal. Provide torque specifications for each fitting type. Practice proper seal installation during training sessions.