The design of thermocouple mounting holes significantly affects the ease of sensor maintenance. A well-designed hole allows easy insertion and removal, reduces the risk of damage, and improves thermal contact. The first consideration is the hole's diameter. It should be a close fit to the probe-typically the probe diameter plus 0.05-0.1mm. A too-tight hole makes insertion difficult and can bind the probe during thermal expansion; a too-loose hole causes an air gap and poor thermal contact. The hole should be drilled with a reamer to achieve the required tolerance and surface finish. The second consideration is the hole depth. The probe should just bottom out in the hole with a slight preload. To ensure this, the hole depth should be exactly the probe length (from the shoulder to the tip) minus a small amount (0.1-0.2mm). If the probe is too short, it won't touch the bottom; if too long, it will bend. For spring-loaded designs, the hole should have a counterbore at the top to accommodate the spring and to act as a stop for the probe's shoulder. The spring's compression distance must be designed so that it stays within its working range at both room temperature and operating temperature. The third consideration is the thread. Many thermocouples have a threaded body; the hole should have a matching thread (e.g., M6x1, 1/8 NPT). Use a thread sealant (like PTFE tape) to prevent plastic seepage, but do not let the sealant cover the sensing tip. The thread depth should be sufficient to engage fully but not so deep that the bottom of the thread hits the probe. The fourth consideration is the cable exit. The hole should be oriented so that the cable exits in a straight line or with a gentle curve, avoiding sharp bends at the connector. If the cable must bend, design a smooth radius using a cable support. The fifth consideration is access-the hole should be positioned so that the sensor is easily reachable with a wrench, and the connector is accessible without dismantling other mold components. If the sensor is deep inside the mold, use an extension tool or a right-angle connector. The sixth consideration is marking-clearly mark each thermocouple hole with the zone number (e.g., "Z1", "Z2") on the mold surface. This prevents cross-connection during re-installation. The seventh consideration is the use of a "guide pin." For long probes, a guide pin that aligns the probe as it is inserted prevents the tip from scraping against the side of the hole, which could damage the junction. By incorporating these design features, the mold becomes more serviceable, reducing maintenance time and the risk of damage. A well-designed thermocouple installation is a small investment that pays dividends in reduced downtime and improved safety.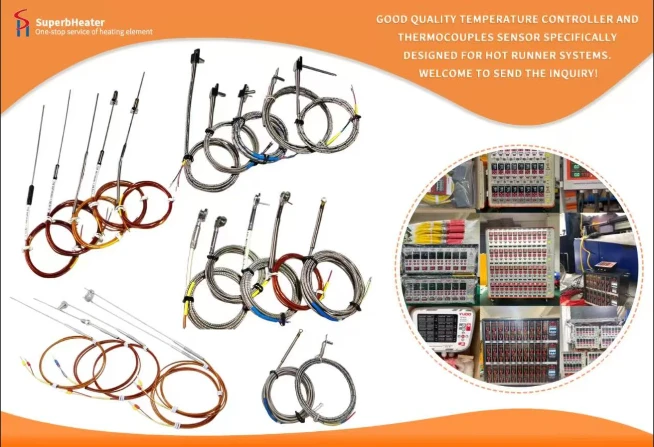

 English
- English
- Français
- Deutsch
- 日本語
- Italiano
- Español
- Português
- русский
- Indonesia
- عربي
- Ελληνικά
- Polski
- فارسی
- עברית
- Kreyòl Ayisyen
- 한국어
- Türkçe
- slovenčina
- Bai Miaowen
- Cymraeg
- dansk
- Lietuvių
- Malti
- Svenska
- Srbija jezik (latinica)
- O'zbek
- ไทย
- suomi
- magyar
- Eesti
- Català
- slovenščina
- Melayu
- Български
- اردو
- România limbi
- bosanski
- हिंदी
- Gaeilgenah Éireann
- Việt Nam
- বাংলা
- íslenska
- Norsk
- Latviešu
- hrvatski
- Nederlands
- Čeština
- українська


