When a mold is changed, the thermocouple changeover must be done carefully to prevent cross-connection, damage, or incorrect installation. A standardized procedure ensures a smooth changeover. The first step is to prepare the new mold. Before the mold change, verify that the new mold's thermocouples are installed and tested. Check the continuity and insulation resistance of each thermocouple. Note the setpoint and the PID parameters for the new mold. The second step is to plan the changeover. Coordinate with the production planning team to schedule the changeover during a planned downtime. Notify the maintenance team and ensure the correct tools and spare connectors are available. The third step is to disconnect the old mold. Turn off the hot runner and allow it to cool to a safe temperature (below 100°C) before disconnecting the thermocouple connectors. Label each connector with its zone number as it is disconnected, to avoid confusion. Use a wire marker or a color-coded tag. The fourth step is to remove the old mold. Carefully lift the mold from the machine, ensuring that the thermocouple cables are not snagged or pulled. The fifth step is to install the new mold. Position the new mold in the machine. Connect the water lines, the hydraulic lines (if any), and then the thermocouple connectors. Connect each connector to its corresponding zone on the controller. Use the labels to ensure correct connection. The sixth step is to verify the connections. Before heating the mold, check that each zone's thermocouple reading on the controller corresponds to the expected room temperature. If a zone reads an unusual temperature (e.g., -30°C), it may be cross-connected or open. The seventh step is to load the new mold's settings. Enter the setpoint and the PID parameters for the new mold into the controller. If the controller has a recipe function, simply load the recipe. The eighth step is to heat the mold. Start the heating process using the pre-defined ramp rate. Monitor the thermocouple readings to ensure that all zones are heating evenly. The ninth step is to verify the calibration. Once the mold has reached the setpoint, use a pyrometer to verify the nozzle tip temperature. The tenth step is to release the mold for production. Once the temperature is stable and the calibration is verified, the mold is ready. Document the changeover, including the date, the mold number, and any issues encountered. By following a standardized changeover procedure, molders can minimize the risk of errors, reduce the setup time, and ensure that the new mold is ready for production quickly and correctly.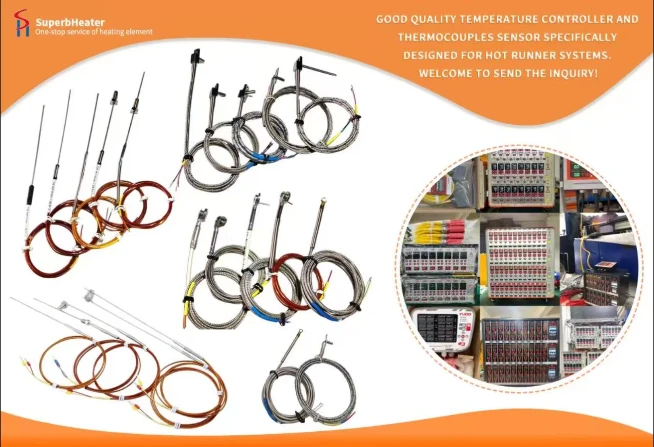

 English
- English
- Français
- Deutsch
- 日本語
- Italiano
- Español
- Português
- русский
- Indonesia
- عربي
- Ελληνικά
- Polski
- فارسی
- עברית
- Kreyòl Ayisyen
- 한국어
- Türkçe
- slovenčina
- Bai Miaowen
- Cymraeg
- dansk
- Lietuvių
- Malti
- Svenska
- Srbija jezik (latinica)
- O'zbek
- ไทย
- suomi
- magyar
- Eesti
- Català
- slovenščina
- Melayu
- Български
- اردو
- România limbi
- bosanski
- हिंदी
- Gaeilgenah Éireann
- Việt Nam
- বাংলা
- íslenska
- Norsk
- Latviešu
- hrvatski
- Nederlands
- Čeština
- українська


