When commissioning a new hot runner, thermal performance assessment is critical to ensure it will produce quality parts. The thermocouple is the primary tool for this assessment. The first step is to perform a "thermal map" of the manifold and nozzles. While the hot runner is at room temperature, insert a reference thermocouple into any spare holes and note its reading. Then, heat the hot runner to the nominal setpoint and allow it to stabilize for at least 45 minutes. Record the temperature of each zone using the installed thermocouples. Then, use a surface contact pyrometer on the manifold and nozzle bodies to measure the temperature at multiple points. Plot these readings on a drawing of the hot runner. The map should show the temperature distribution. Ideally, all zones should be within ±1.5°C of each other. If a zone is significantly different, it may indicate a problem with the heater, the thermocouple, or the thermal design. The second step is to perform a "heat loss" test. Turn off the heaters and record the temperature drop per minute. This tells you how well the hot runner is insulated. A rapid drop indicates excessive heat loss, which will affect stability. The third step is to perform a "response time" test. Apply a step change of 10°C to each zone and record the time to reach 90% of the new setpoint. A response time that is too long (e.g., >5 seconds) indicates that the thermocouple is not well-coupled or that the heater is underpowered. The fourth step is to check for "cross-talk" between zones. Increase the setpoint of one zone by 10°C and observe the effect on its neighboring zones. If the neighbor's temperature rises by more than 1°C, there is significant thermal coupling, which will require decoupling in the controller. The fifth step is to measure the temperature at the gate. For each cavity, measure the nozzle tip temperature using a very fine thermocouple. The gate temperature must be consistent; variations of more than ±3°C across the cavities need correction. The sixth step is to run a "short shot" test-partially filling the cavities to observe the flow front. Relate the flow front behavior to the thermocouple readings; zones with higher temperature will have longer flow length. The seventh step is to compare the thermocouple's reading at the setpoint with the melt temperature measured by a melt probe (if available). The melt temperature is typically 5–10°C higher than the metal temperature due to shear heating. If the difference is outside this range, it indicates a thermocouple placement issue. By performing these tests and documenting the results, the thermal baseline for the new hot runner is established, which can be used for future troubleshooting and process optimization.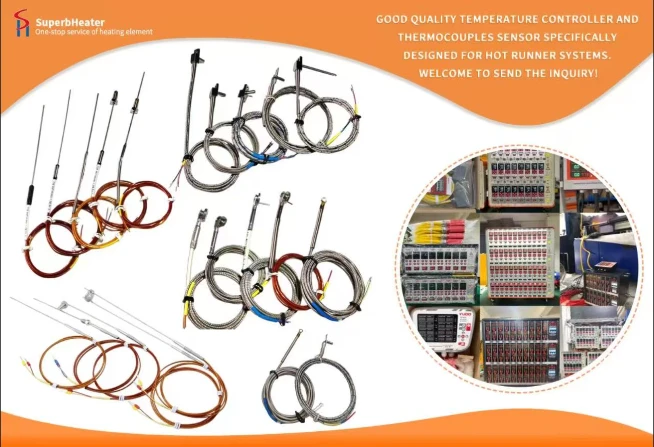

 English
- English
- Français
- Deutsch
- 日本語
- Italiano
- Español
- Português
- русский
- Indonesia
- عربي
- Ελληνικά
- Polski
- فارسی
- עברית
- Kreyòl Ayisyen
- 한국어
- Türkçe
- slovenčina
- Bai Miaowen
- Cymraeg
- dansk
- Lietuvių
- Malti
- Svenska
- Srbija jezik (latinica)
- O'zbek
- ไทย
- suomi
- magyar
- Eesti
- Català
- slovenščina
- Melayu
- Български
- اردو
- România limbi
- bosanski
- हिंदी
- Gaeilgenah Éireann
- Việt Nam
- বাংলা
- íslenska
- Norsk
- Latviešu
- hrvatski
- Nederlands
- Čeština
- українська


